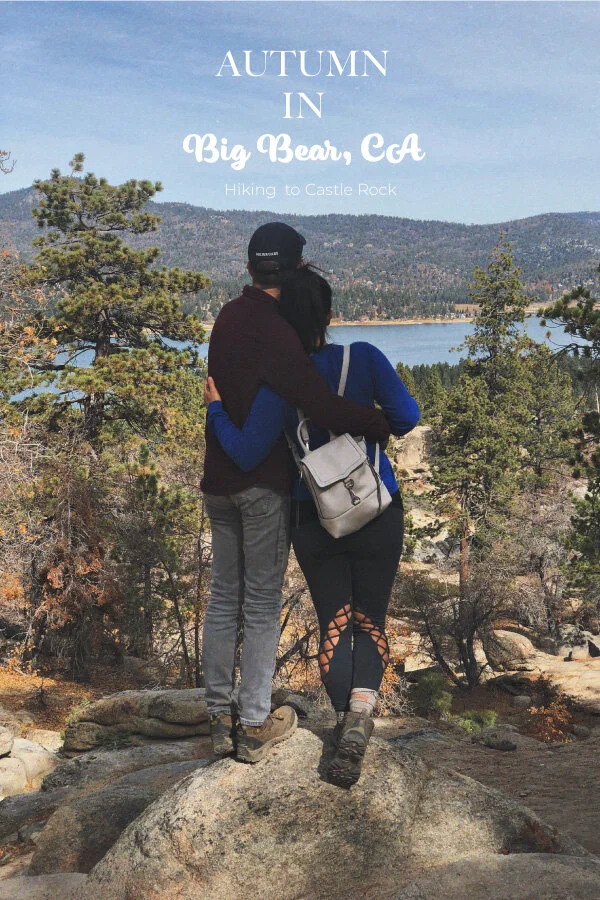
HIKING GUIDE: CASTLE ROCK
BIG BEAR, CALIFORNIA
Los Angeles is literally scorching this week. As I write this at the end of October, the amount of fires southern California has seen this month fills up at least one hand. Fingers crossed the heat lets up soon, mostly for the safety of everyone living here, but also because its got this midwestern girl missing the change of leaves and smell of crisp, cold air.
Last year we we got to experience Big Bear in the fall and I’m hoping we got back again before 2019 ends. I thought it would be the perfect time to provide a hiking guide for a fall trail in Big Bear. This would be a lovely summer hike too! Its pretty steep, so I might not recommend it once snow falls, but for fall it offered up panorama views of the lake and colorful forrest.
The Deets
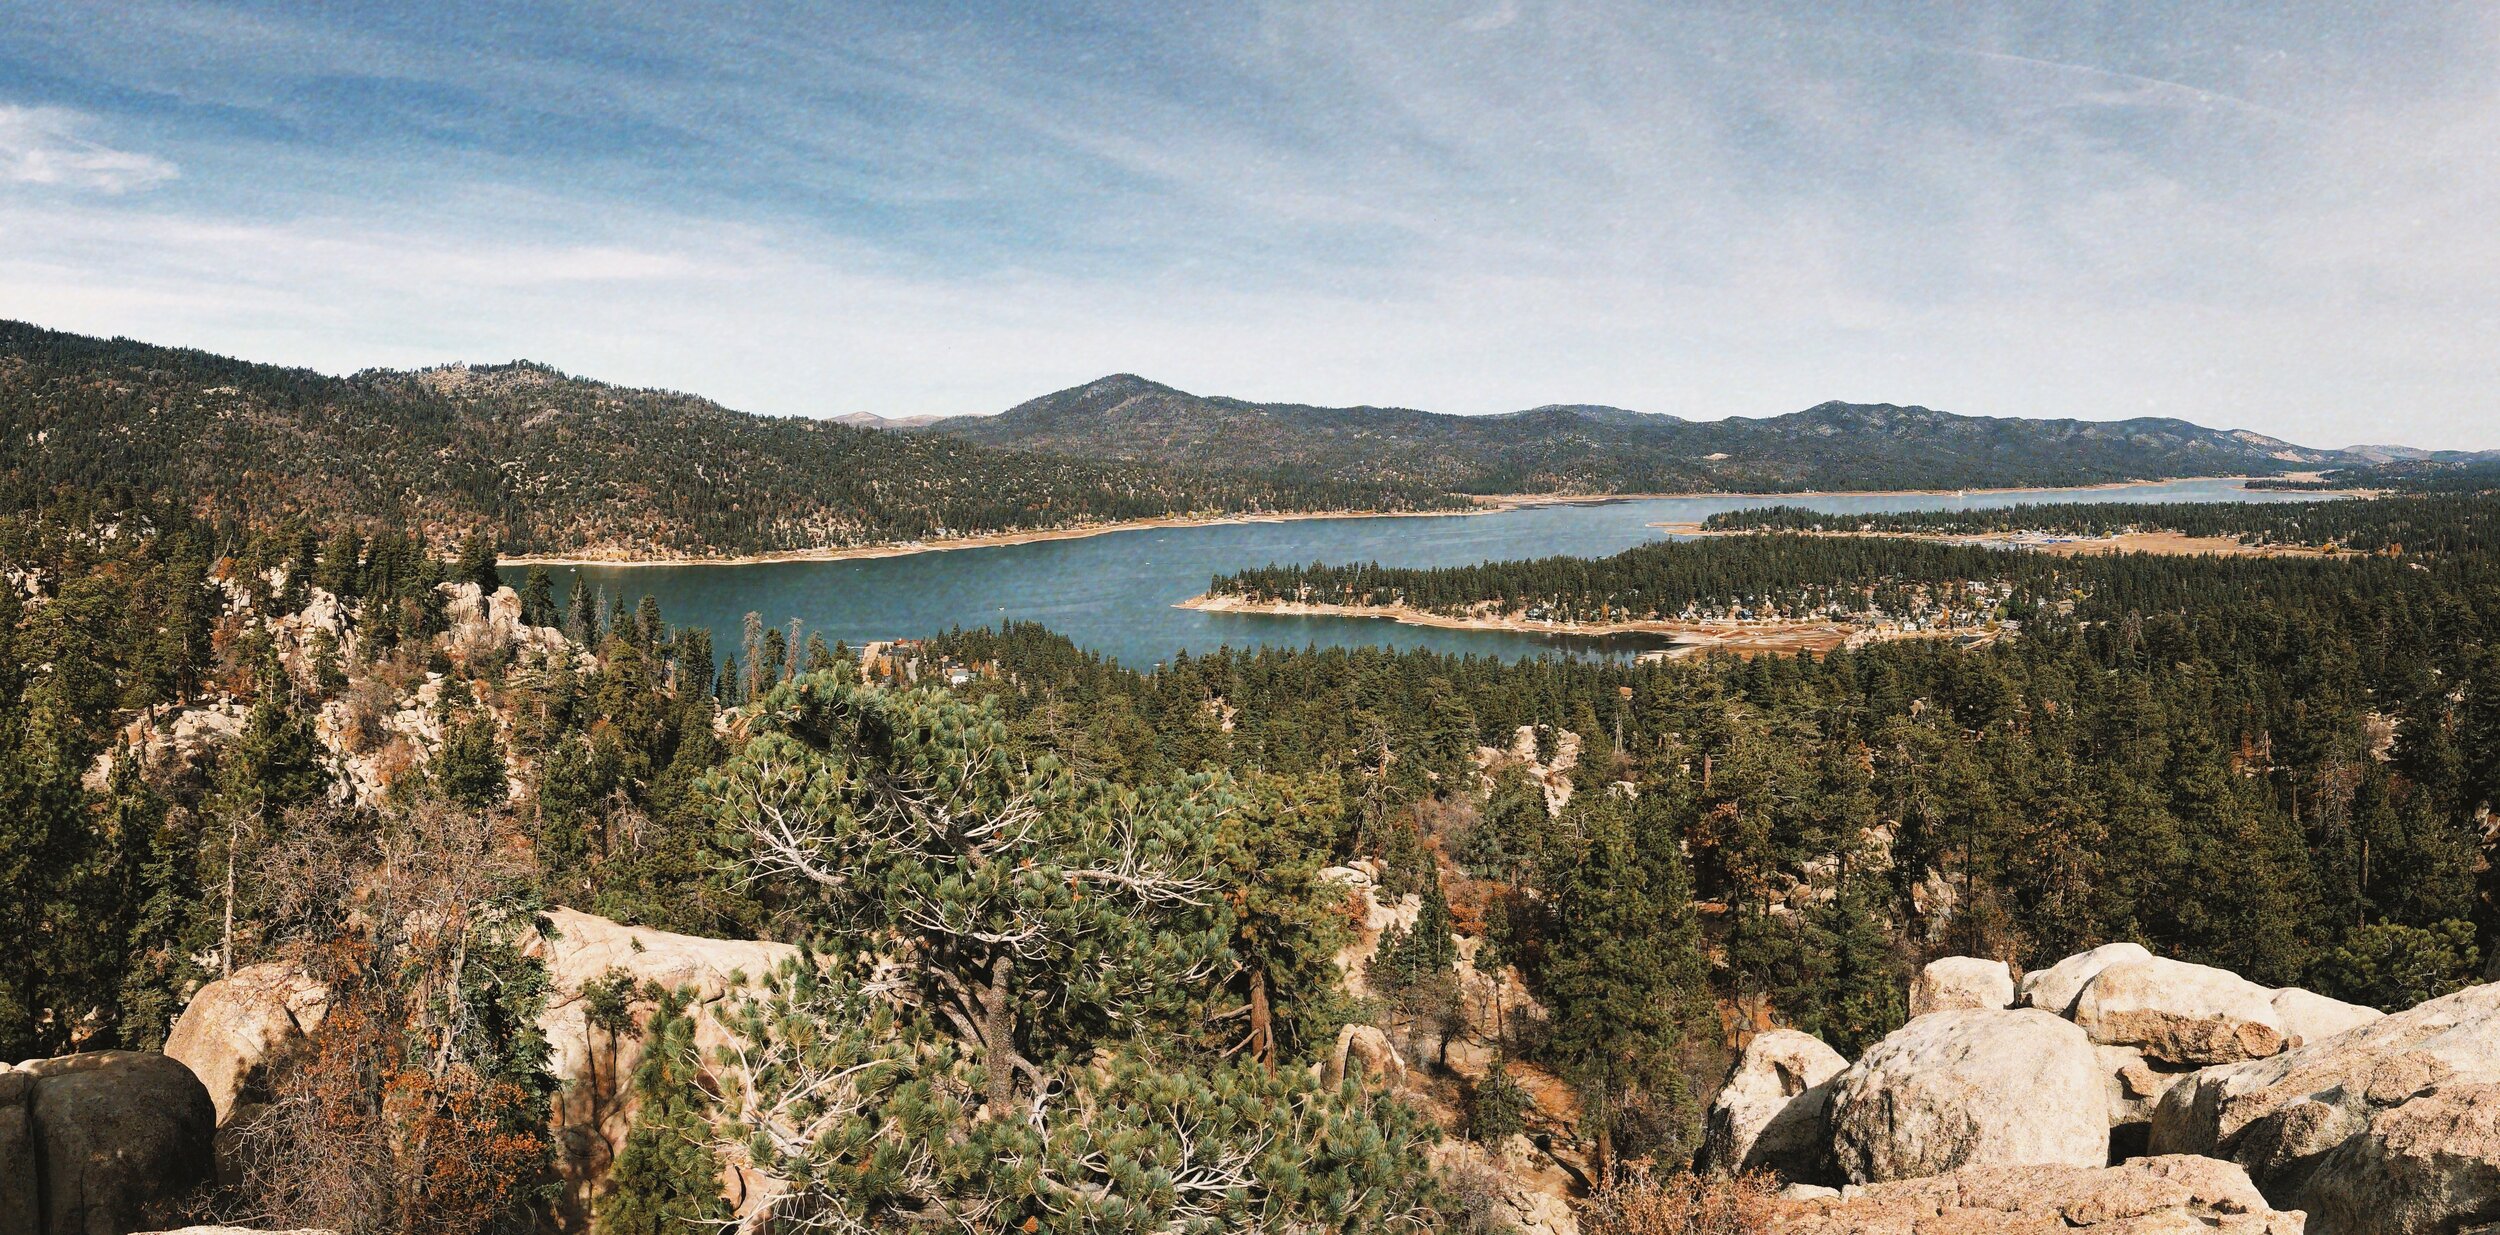
THE HIKE:
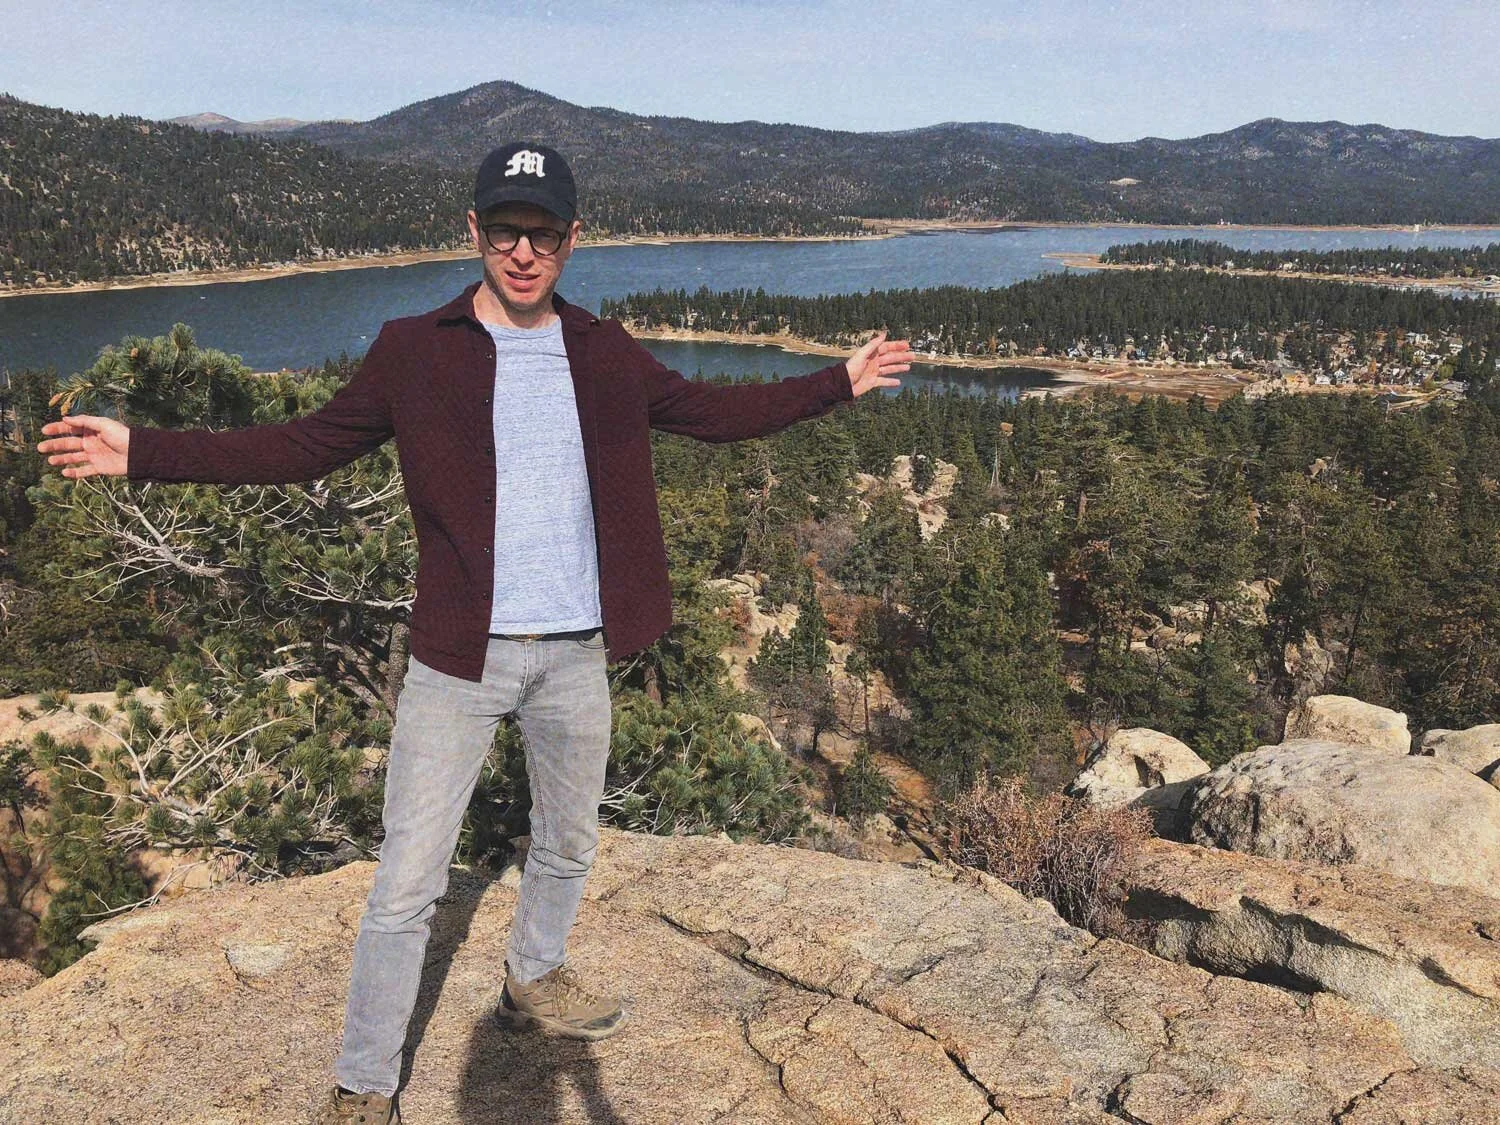
Castle Rock is a lovely, but steep out and back hike located in Big Bear, California. This hike will take you through piney forrest and boulder outcroppings, finishing with panoramic lake views.
ELEVATION:
Gain approx 700ft of elevation
LOCATION:
Big Bear, California
The trailhead can be found on google maps here. If you type in “Castle Rock Big Bear” into google maps, it will also show up.
PARKING:
There is no designated lot, you will find parking at the turn off right before or after the trailhead along the side of the road.
DISTANCE:
~ 2mi roundtrip
TIME:
the length of this hike involves so many factors! Assuming you’ll want to marvel at the views on the way up as well as once you reach the top, I would carve out at least an hour. Charlie’s step dad left his phone somewhere up there, and we realized only once we got back down. Charlie jogged almost all the way up and back down somewhere inside of 15 minutes to retrieve it, in case that provides any context.
DIFFICULTY:
Moderate
although this is a short hike (I think we hiked less than 2 miles round trip), I would mark is as moderate due to the steep elevation. Your glutes sure feel this one! I would recommend some trekking poles, to help with the steep and quick elevation gain.


Getting to the TrailHead
The Castle Rock Trail trailhead is located off Highway 18 right before you enter Big Bear City Limits. Literally there is a trailhead sign underneath the Big Bear city Limits sign.
To park, find an open spot along the road. See the picture above for how some cars are parked along the road. This is a very popular hike, so you will know you’ve found it because of all the cars! People are constantly coming and going in this area, and the trailhead is right along a curve in the road, so be mindful of how you park, and entering and exiting your vehicle.
Right off the road you will see the trailhead sign noting the start of the Castle Rock Trail, straight ahead, one mile.


The Hike
At the trailhead sign there were a bunch of make shift walking sticks! I thought this was so lovely. If you take one, be sure to bring it back and leave it for the next person! I had trekking poles with me, and my father in law, who has a bum knee found them very use-full.
After you’ve got your walking stick situation in order, head on up! The trail is well marked and begins to climb in elevation pretty immediately.

Take in the views on your way up! For some of the trail its more rocks than it is dirt trail. Just keep an eye on where you’re placing your feet and you’ll be fine! Right as we were getting tired and in need of a water break, a bench appeared! Good photo op :)
Immediately after this bench, there is a switchback that will take you into the final stretch of boulder outcroppings up to Castle Rock.


Charlie climbed all over the boulders; it was like a play ground for him. Amongst the boulders is where we started to lose the trail, but we kept an eye out for trail signs, like the one pictured below, and found our way around. Charlie and I scrambled all the way to the top, and actually arrived at the same time as a ropes climber from the other side. That route is now on my list to explore for a future visit (hopefully as a climber)!


And with this signage below, I’d say we made it!
Charlies mom and step-dad didn’t make it all the way up on the boulders with us, but could still take in plenty of the view. If we do this hike in the future I would scramble to the top again, as long as I was wearing hiking shoes or very grippy athletic shoes.
Have you done this hike before? Or other hikes around Big Bear? I am excited to go back and do others! Put your recos in the comments!


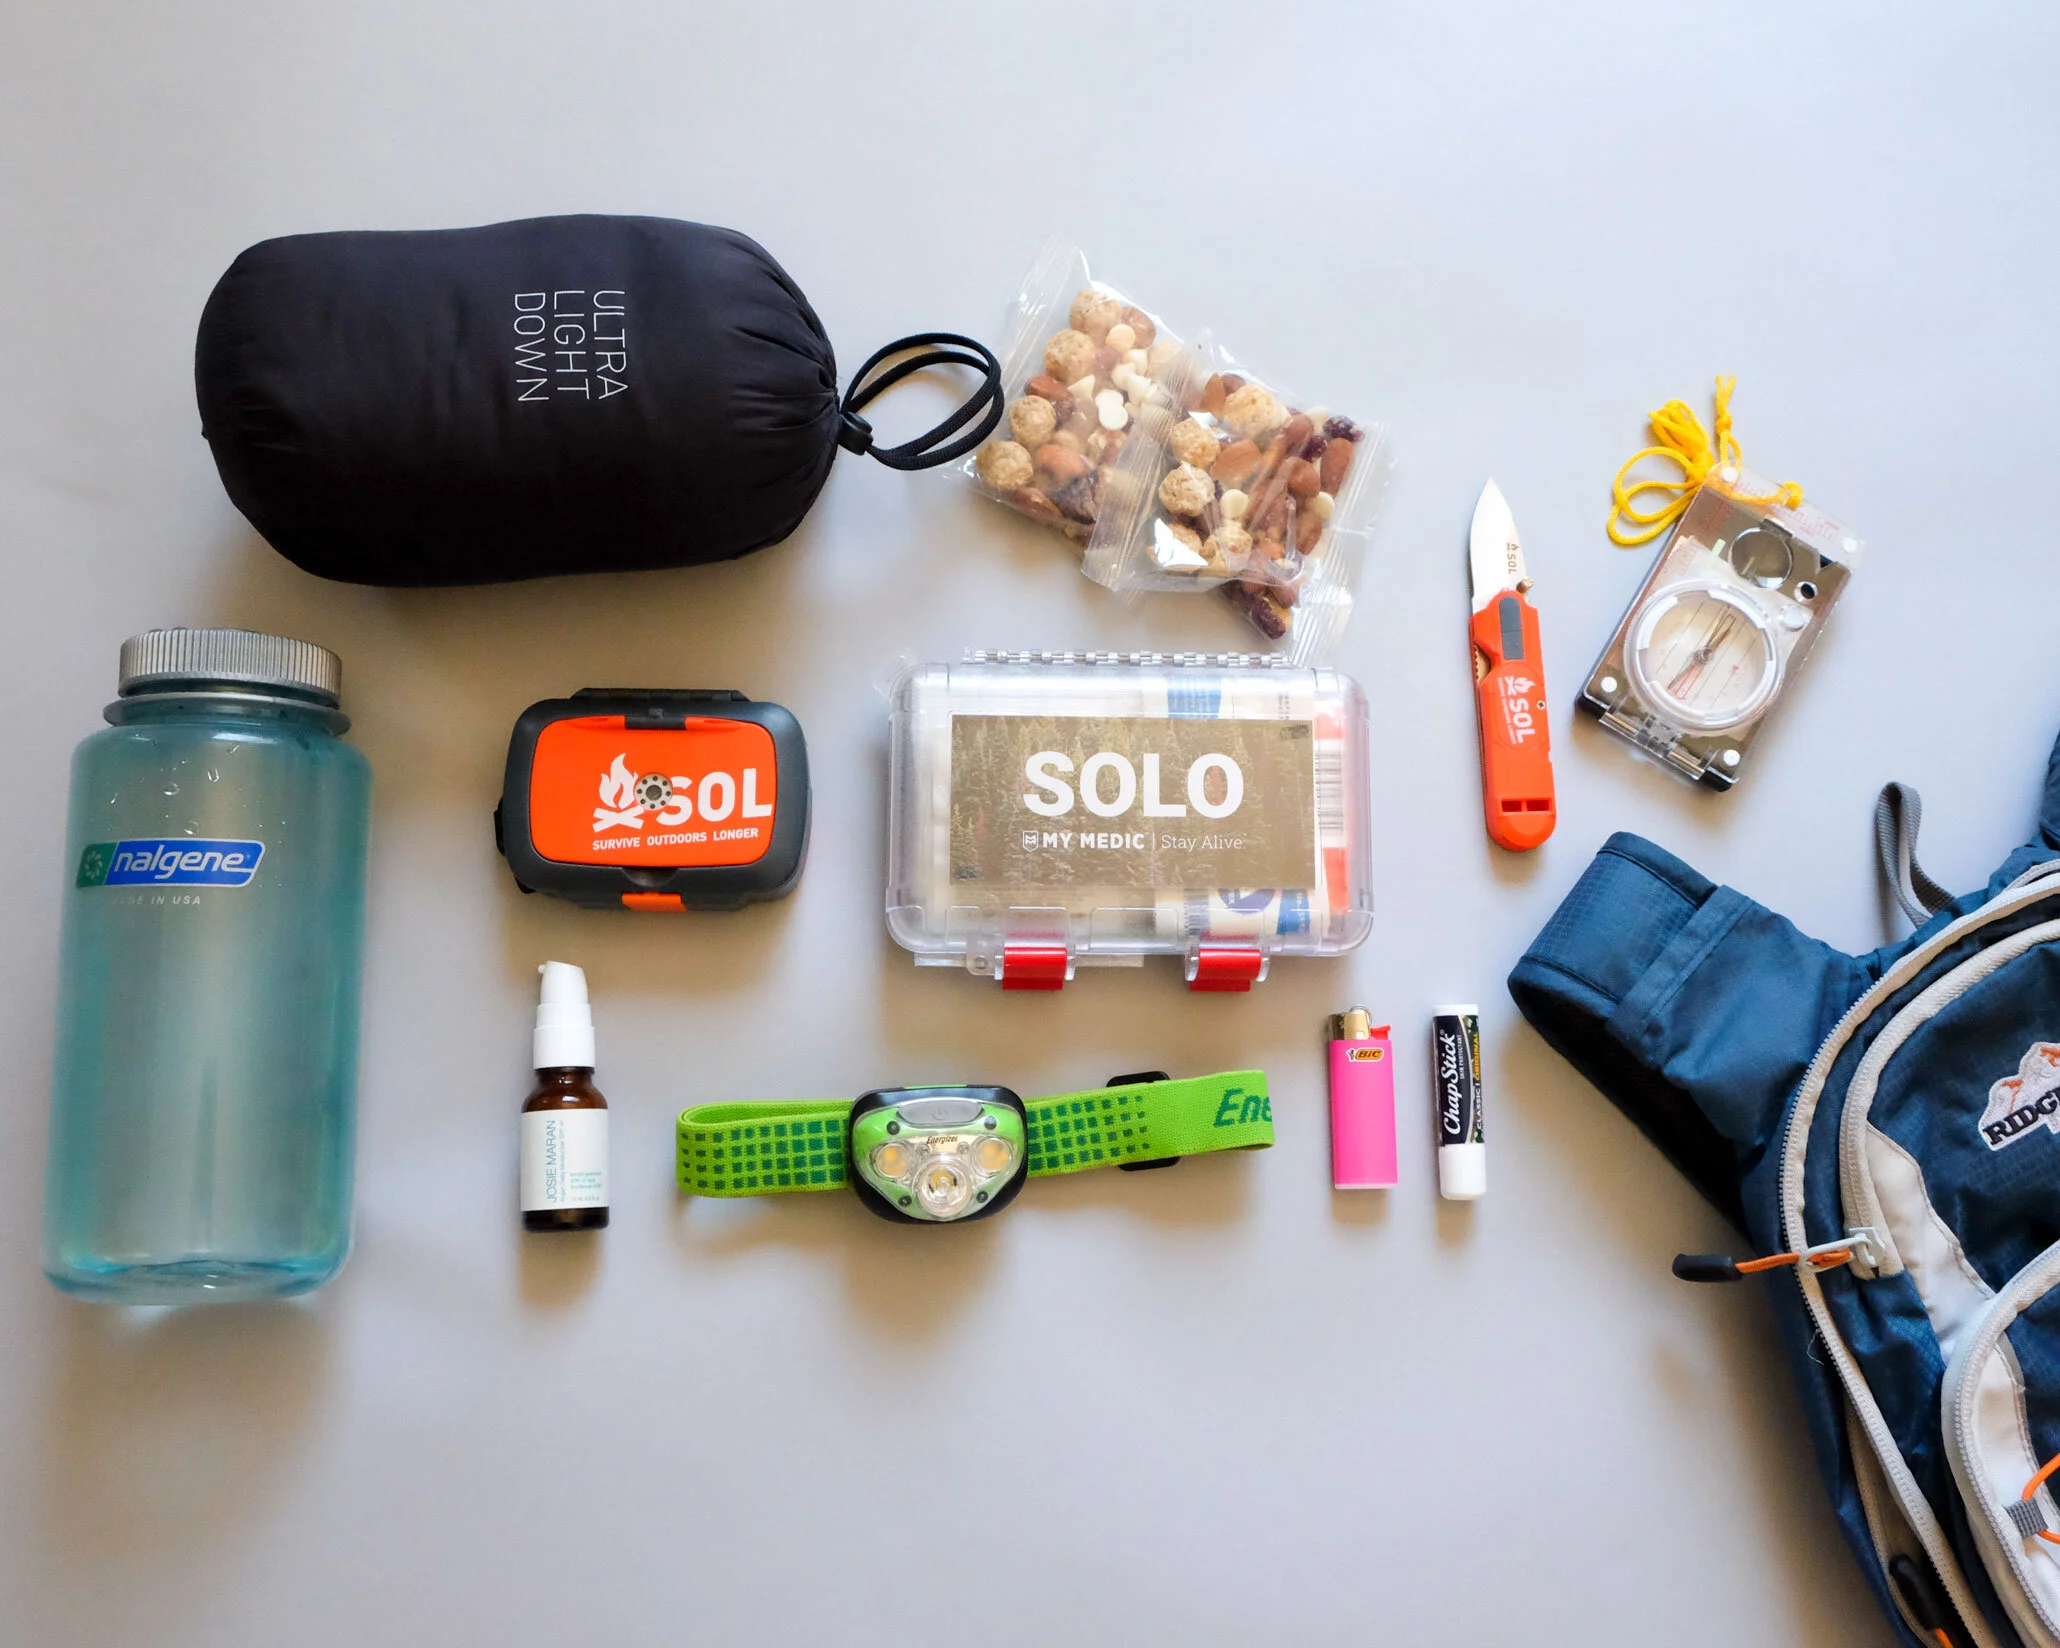
TIPS & GEAR:
TREKKING POLES
I personally am a big fan of trekking poles, especially for steeper hikes like this one. I’ll note that our group was just fine with out them, but I like the stabilization they offer, no matter the level of difficulty. I use the Black Diamond Women’s Trekking Poles you can see linked below.
HIKING BOOTS
I was particularly glad I was wearing hiking boots while we were scrambling. This hike is possible in gym shoes, but I would be sure they are super grippy if you plan to scramble over any rocks.
WATER
We each carried 1 liter, which was plenty. (my stance here is always bring more water!)
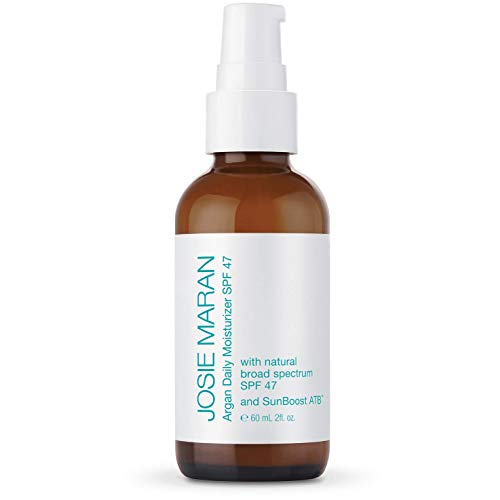
SUNSCREEN
Even in the fall, be sure to bring sunscreen and reapply! all of us absolutely got some sun on this hike. My favorite natural sunscreen is Josie Maran’s SPF47
LAYERS
It was about 65 degrees during this hike in November, which felt perfect for a t-shirt, leggings and an additional layer wrapped around my waist.